If you are already taking your layout points out of the office and into the field, that is a major accomplishment and one that positions you for success using BIM in the field. However, it’s always best to “measure twice and cut once,” as the adage goes, so now is the perfect time for some important quality assurance (QA) steps.
Measure Twice
At this stage, the construction crew has carefully placed the many hundreds of layout points at the construction site that are necessary for your project. This is the perfect time to back check, or double check, the accuracy of the layout points as laid out by the subcontractor. This important QA step can be performed immediately after the general contractor or subcontractor has laid out the points or after the construction is in place. This process is equally effective in either case and gives you the flexibility to choose.
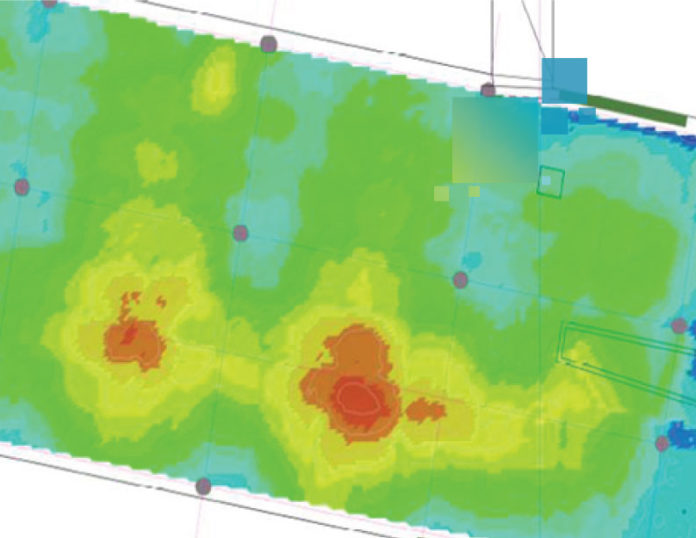
Fortunately, back checking the layout points is simple if you are working with a Leica construction total station and MicroSurvey Layout Pro. With your robotic total station software in “as-built” mode, all you have to do is select any layout point. If the total station is in red laser mode, it will automatically turn to the point. (If the red laser point does not land on exactly the correct location for the layout, you know you have deviation.) If you are using a prism pole, the total station will guide you to the point. Aim the total station laser at the actual point location in the field and capture the point location. This new measurement, and its deviation from the original, will be recorded by the field software. Finally, the field software can generate a “BIM delta report” as a record of all deviations.
All of these features come together to make the QA process far more efficient and reliable than it has ever been before.
RELATED: The ROI of Digital Layout
Use the Right Measuring Tools
Including BIM in the field can provide huge improvements in both accuracy and speed for general contractors and subcontractors. These efficiencies translate into real project savings. However, in order to maximize these benefits, you will need the right tool for the job.
If you are working with a Nova MultiStation, you already have the ability to scan the project area with a deviation. The MultiStation is a full featured robotic total station with integrated high-definition scanning capabilities. This powerful combination gives you the best of both worlds. One of the greatest bonuses of this feature-rich total station is that the scanning function utilizes the total station’s own orientation information. This helpful feature will further streamline and accelerate your workflow by taking your point clouds and automatically orienting and registering them (stitched together) in relation to one another with zero post-processing, giving you more time to evaluate and resolve any field deviations that might arise.


