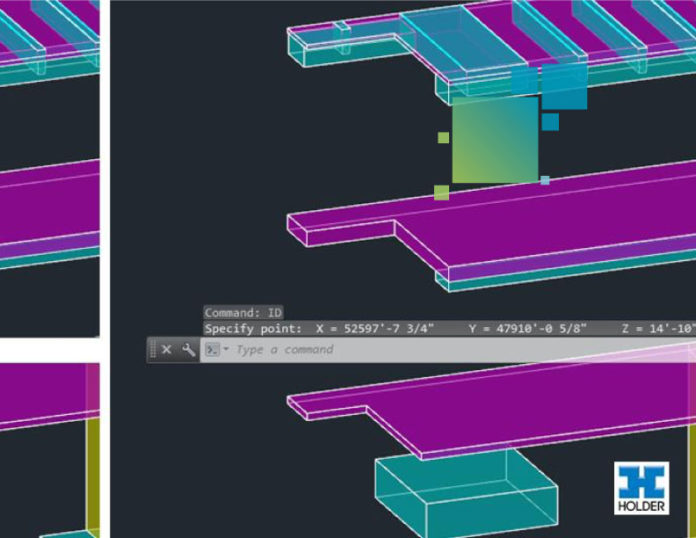
Whether you’re using the model for layout or just checking to ensure the slab you just drew is truly at 0′-0”, spot coordinates are useful for quick location information. Specifically, sometimes you need the Y, X, and Z (or Northing, Easting, Elevation) of a specific point, and standard linear dimensions won’t cut it. Here’s how to check spot coordinates in the three frequently used programs.
RELATED: Learn how to enrich construction layout with accurate model data
Autodesk Revit
Revit has a couple great tools for quick spot coordinate information, both of which can be found in the Annotate ribbon or by starting a dimension line (shortcut DI).

Spot Elevation (shortcut EL) simply gives you an elevation marker. Spot Coordinate gives you Northing and Easting by default. You can also enable Elevation by going to the Type Properties of the Spot Coordinate system family and checking “Include Elevation.” Make sure your units are set correctly also.
Autodesk AutoCAD
AutoCAD is even easier for quick spot measurements – the command “ID” gives you the X, Y, and Z coordinates based on a point you specify.
Simply type “ID” in the command window, hit space/enter, and choose the point you want (snaps are obviously useful here). The result is shown in the command window.

This is an especially useful trick if you’re trying to confirm the agreed-upon origin is truly in the right spot.
Autodesk Navisworks
Acquiring spot coordinate information in Navisworks is easy, though not intuitive. Everything you need is in the Review ribbon.

In the Review ribbon, click on the arrow in the bottom right of the Measure pane to bring up the Measure Tools window (alternatively you can activate the Measure Tools window using the View ribbon). Then click on the Point to Point measure tool and click once on to snap to a corner/edge. As long as you have the Measure Tools window pinned in place, you’ll get the initial spot measurement information.


